
This is the "before" picture. The idea was to clear out the jungle and put the chicken coop and run on the left. I was really grateful that we had a gardener to help clear out all those plants! It took a long time as a number of them needed to be relocated rather than just destroyed.

Honestly, I think it took several weeks just to get it to look like this:

After I had drawn up a basic plan, I started assembling the frame (on the other side of the house, where there was more light to work in the evening). I used something kind of like 2x2's, only they weren't quite square, and the measurements were in millimeters. It looks flimsy, and at times I doubted my choice in materials, but they were a lot cheaper than 2x4's, and with reinforcement they are holding up just fine.

This was before I had my own power drill, so I borrowed from a friend. I had to replace so many of their drill bits! This was one of my first projects with a drill.

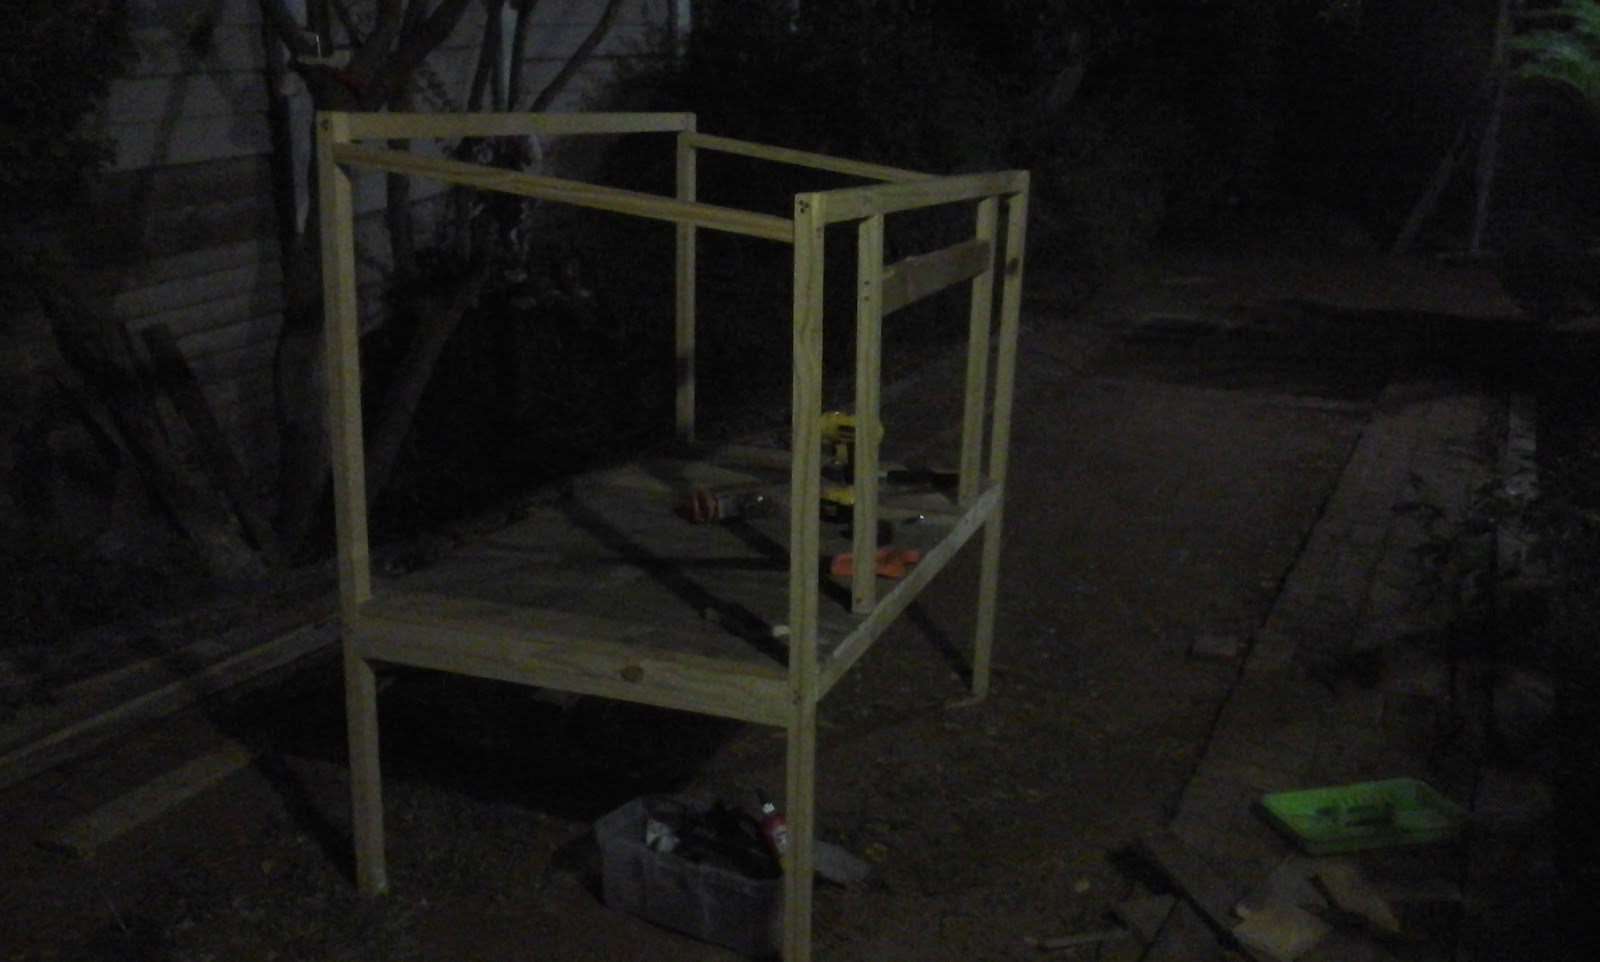
It's a mess. I am thankful for everyone at MBH that put up with it! This picture shows late one night after I had assembled the frame and the floor. My original plan was to line the floor with chicken wire so the poop would fall through, but that plan failed because I couldn't pull the wire taut enough. Turns out chicken poop is big and it would have just been a nasty mess (even more so because they like to hang out underneath the coop...picture lots of poop and shavings falling on their heads), so I'm glad I decided to go with the boards. It's easy enough to clean if I keep a layer of shavings on the floor. For a while I lined it with cardboard as well, but that became too much work.
At this point I enlisted our house dad to help me carry it to its final resting place before it became too heavy to move. Here it is with the back wall on!

Here I am putting up the sides. Note my adorable "helper" watching me work!

I didn't take too many pictures for a while, but here it is with the sides, roof, and entry door. It was so hard getting the top even before I nailed the roof on! Did I mention I cut everything for this coop with a hand saw? A power saw is the next item on my tool wish list!

I wanted to build a living roof on top to economize on space and keep the coop cool. The edge boards for that, and the wood for the frame, were the only pieces of lumber I bought. Before nailing the boards in place, I took a piece of thick, clear plastic (bought it at the fabric store - I think they use it for upholstery) and tacked it down around the edge of the roof. I made the nail holes in the overhang so water wouldn't leak into the inside of the coop. Then I put down an old towel in an attempt to keep the moisture in. It didn't work. Maybe if I had better soil and lived in a wetter climate I'd actually be able to grow something, but usually it is the driest of all my gardening spots. Except when it rains a lot. It does drain well (the water seeps out the front edge, through the towel so I don't lose dirt as well) - well enough to grow mushrooms, at times - but nothing I WANT to grow seems to grow there! I think I need to find a more water-retentive soil medium.
Also, I had the doors on by this stage. Because they are made from recycled, low-quality wood, they are not super-perfect AT ALL. When it rains, they swell and stay open a crack until they dry, and when they're REALLY dry, sometimes the latch can come open and once a chicken escaped...so now I wedge a piece of paracord into the latch hole to make sure it is tight. It's...rustic.

This is what it looked like when it was finished and filled with dirt.

All painted and pretty! The red paint was great to work with. The white paint was very cheap oil paint and took four coats to cover the wood. Those doors took up quite a few hours of my life, but I was quite happy with the results. The posts are L-shaped pallet wood brackets to cover the skinny 2x2 posts. Sometimes they weren't quite straight and I had to wedge in scrap wood and screw it all together to make it sturdy. The little ladder in the front came from who-knows-where - it's too short for a bunkbed! - and is just the right size to give me access to the roof.

I have chicken wire over the windows to keep the chickens from pecking at the flowers in the window boxes. My African friends think it's hilarious that my chickens have window boxes with flowers, but I love them - even if they don't retain moisture any better than the roof...

The side door latches so I can keep chickens out (when I'm cleaning) or in (when I was training them to go into the coop at night).
I used masking tape and a ruler to do these doors. This blog post was my inspiration!

This door was meant to give me access to the nesting boxes. Turns out it's way easier to just go in the front door!

After I removed the back rail, though, this door makes cleaning the nesting boxes much easier. Especially since all they like to do in the back box is poop.

I used an old branch from the yard as a roost. It looks cool, but honestly, I just didn't want to buy yet another piece of lumber!

I put a roof over the top of my nesting boxes. They need an enclosed space, so it's a good thing there is a roof, but this is my least favorite thing in the coop to clean. They get SO much poop on that thing and it's really hard to scrape off the wood. I can't put shavings on top because they would just fall off. So I generally line it with an old feed sack - I have to wedge it underneath the roof. It keeps it from getting too gross, I can scrape the poop off, and I change it out every so often. Kudos to Mama Linda for the idea of using a feed sack underneath the roost!

I ended up putting a net over the roof to keep hungry birds away.

The coop itself took a bit more work and required help from our 1Hope handyman, and the MBH gardener who is studying farming. I can build things, but I'm not very good at sinking fence poles, and I don't have the tools to drill into concrete. I did build the doors myself, and I helped assemble the coop, with a lot of zip ties, baling wire, and a staple gun. We put a roof over the coop to keep stray cats away.

Silly chickens would rather roost on the floor!

Happy chickens in the shade underneath the coop. I later got an automatic feeder and a waterer, and they are SUCH a time saver.

One of the biggest after-construction problems is that it looks like this after it rains:

Apparently we significantly disturbed the natural water flow of this corner of land when we removed the plants and smoothed out the area for the chicken coop. It does dissipate quickly, but it makes taking out the trash a very wet affair on days when it rains heavily. We do have a little brick path under all that water (actually, that is probably part of what makes that side lower) but no drain.
I love having chickens in the city! It's so much fun. They provide us with a lot of entertainment and many eggs.

No comments:
Post a Comment